As a trusted service provider at Mr. Handyman in Singapore, we understand the frustration of dealing with a leaking shower head.
It not only wastes water but can also lead to other costly damages if not addressed promptly.
Below, we outline some common scenarios of shower head leaks and their corresponding fixes to help you tackle the issue effectively.
How To Stop Shower Head Leaking

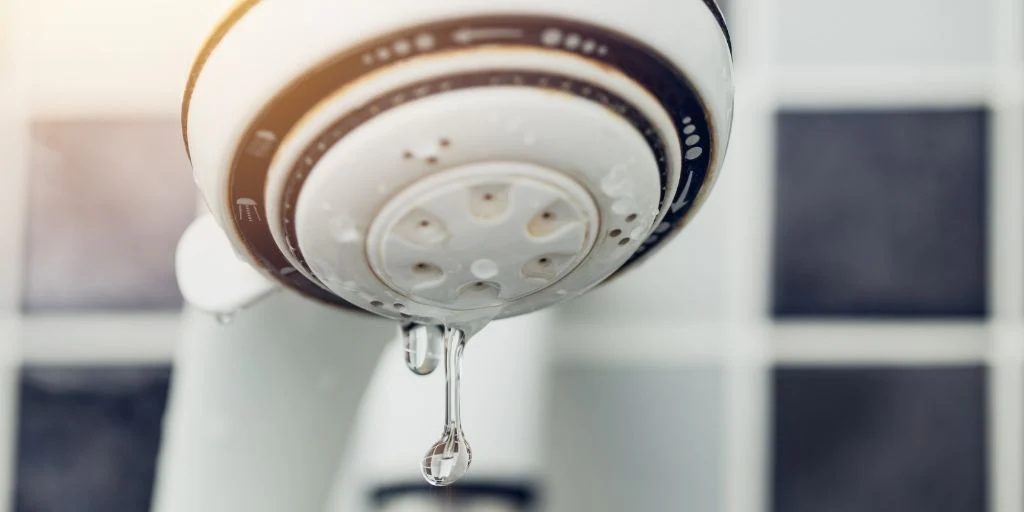
1. Shower Head Leaking When Water is Off
Cause: This issue often stems from a faulty or worn-out shower head washer or seal. Over time, these components can degrade, leading to leaks even when the water is turned off.
Fix: Start by turning off the water supply to the shower. Then, carefully unscrew the shower head using a wrench or pliers. Inspect the washer or seal for any signs of damage or deterioration. If necessary, replace it with a new one. Reattach the shower head securely, and turn the water supply back on to test for leaks.
2. Shower Head Leaking at Swivel
Cause: A leak at the swivel point of the shower head is often caused by a loose connection or damaged O-ring inside the swivel joint.
Fix: Begin by tightening the connection between the shower head and the swivel joint using a wrench or pliers. If the leak persists, you may need to disassemble the swivel joint to access the O-ring. Inspect the O-ring for any cracks or wear and replace it if necessary. Reassemble the swivel joint, ensuring everything is securely tightened.
3. Shower Head Leaking at Base
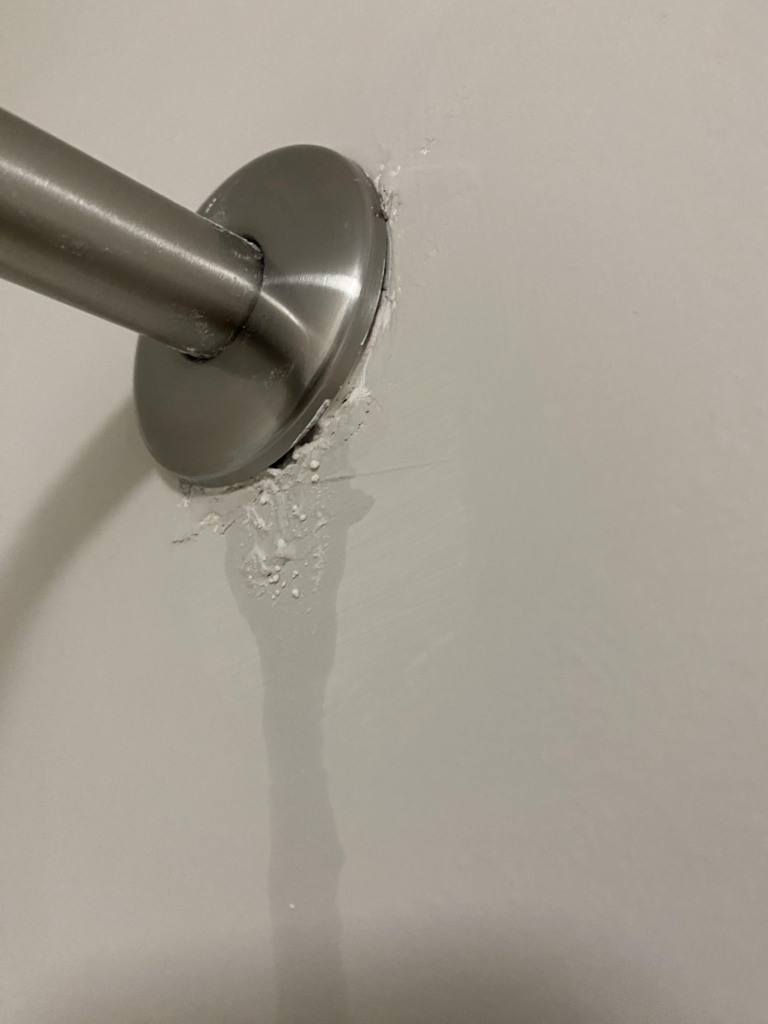
Cause: Leaks at the base of the shower head typically occur due to a loose connection between the shower arm and the shower head.
Fix: Use a wrench to tighten the connection between the shower arm and the shower head. Be careful not to overtighten, as this could cause damage to the threads. Once tightened, turn on the water supply to check for any remaining leaks.
4. Shower Head Leaking at Hose Connection
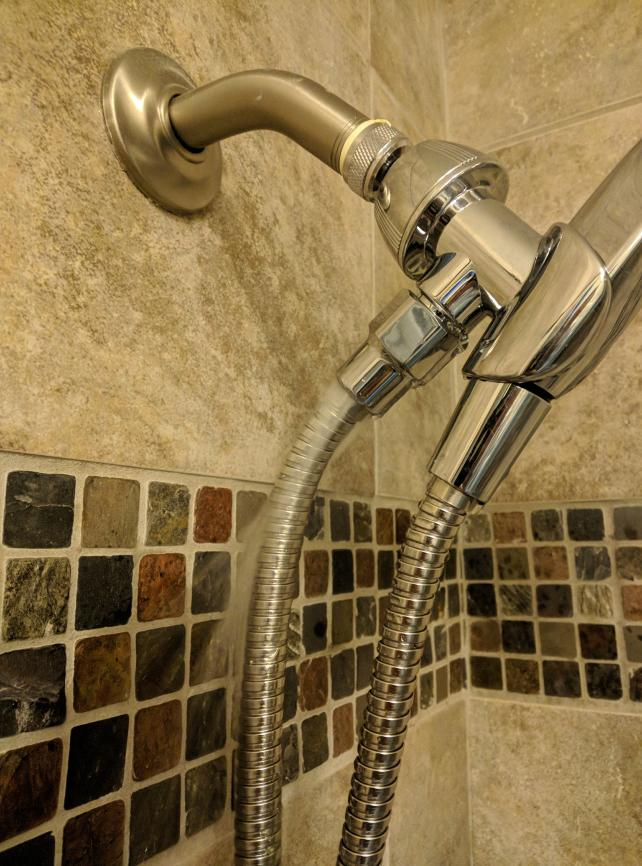
Cause: If your shower head has a detachable hose, leaks at the connection point are often caused by a loose or damaged washer inside the hose coupling.
Fix: Start by turning off the water supply to the shower. Then, carefully unscrew the hose coupling using a wrench or pliers. Inspect the washer for any signs of damage or wear and replace it if necessary. Reattach the hose coupling securely and turn the water supply back on to test for leaks.
5. Shower Head Leaking at Threads
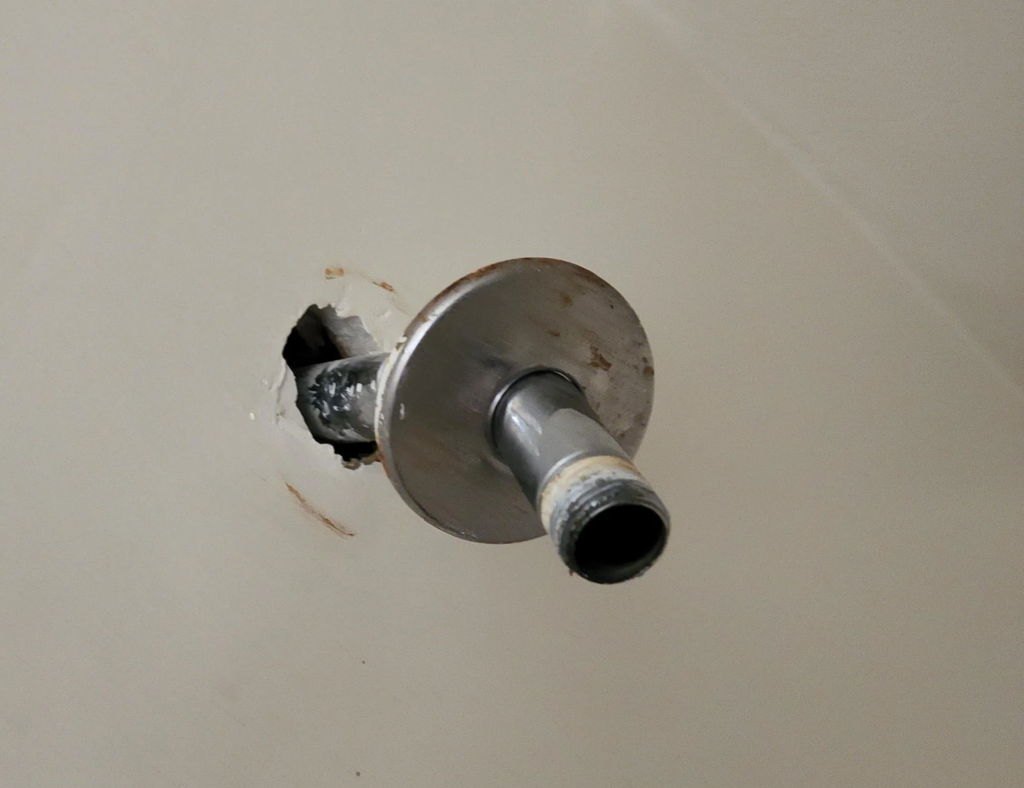
Cause: Leaks at the threads of the shower head are usually due to worn-out or damaged threads on either the shower head or the shower arm.
Fix: Carefully inspect the threads on both the shower head and the shower arm for any signs of damage. If the threads are worn or damaged, you may need to replace either the shower head or the shower arm. Once replaced, ensure the new components are securely threaded together to prevent any leaks.
6. Shower Head Leaking from Cracks or Holes
Cause: Cracks or holes in the shower head itself can lead to leaks, often caused by wear and tear over time or damage from impact.
Fix: Unfortunately, if the shower head is cracked or has holes, it may need to be replaced entirely. Begin by turning off the water supply to the shower. Then, carefully remove the old shower head and inspect it for any visible cracks or holes. If damage is present, purchase a new shower head and install it according to the manufacturer’s instructions.
7. Shower Head Leaking Due to High Water Pressure
Cause: Excessively high water pressure can cause leaks in various parts of the shower head, including the swivel, base, or hose connection.
Fix: Install a pressure regulator to reduce the water pressure to a safe and manageable level. Additionally, consider installing a water-saving shower head designed to withstand higher pressures. These measures can help alleviate the strain on your shower head and prevent leaks caused by high water pressure.
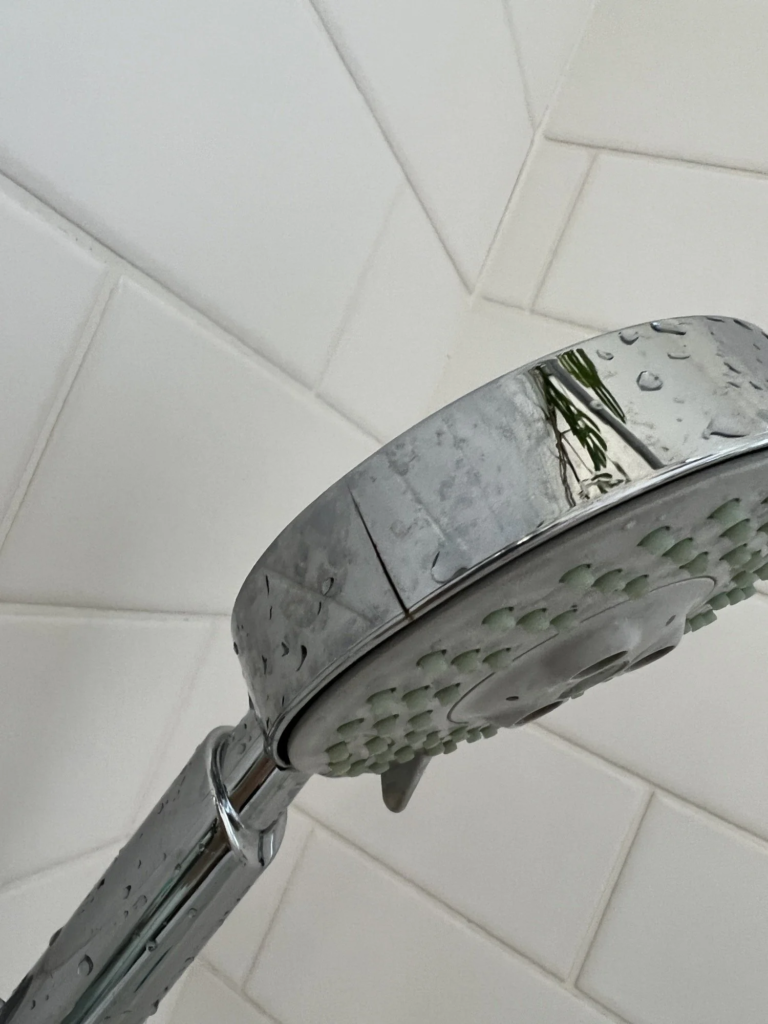
8. Shower Head Leaking Due to Corrosion
Cause: Corrosion can occur over time, especially in areas with hard water, leading to leaks at various points in the shower head.
Fix: If corrosion is present, it’s essential to address the underlying cause, such as hard water buildup. Consider installing a water softener to reduce mineral deposits in your plumbing system. Additionally, regularly clean and maintain your shower head to prevent further corrosion. If the corrosion has caused significant damage, you may need to replace the affected components.
9. New Shower Head Leaking from Improper Installation
Cause: Improper installation of the shower head or its components can result in leaks, such as loose connections or inadequate sealing.
Fix: Carefully review the installation instructions provided by the manufacturer and ensure all components are properly assembled and tightened. If you’re unsure about the installation process, consider seeking assistance from a professional plumber to ensure it’s done correctly.
Conclusion
In conclusion, addressing shower head leaks promptly is crucial to prevent water waste and potential damage to your bathroom. Whether it’s fixing loose connections, replacing worn-out components, or adjusting water pressure, Mr. Handyman in Singapore is here to help. Our experienced professinal are ready repair your shower head, ensuring your shower remains leak-free for a refreshing bathing experience. Don’t let leaks dampen your day – contact us today for reliable and efficient plumbing solutions!