At Mr. Handyman in Singapore, we know that dealing with a leaky kitchen tap can be frustrating and inconvenient. A dripping tap not only wastes water but can also drive up your utility bills.
Understanding the reasons behind the leaks and knowing how to fix them can save you time and money. Here are 8 common causes of kitchen tap leaks and detailed steps to fix each issue.
Types of Leaking Kitchen Tap and Fixes
1. Leaking from the Stem
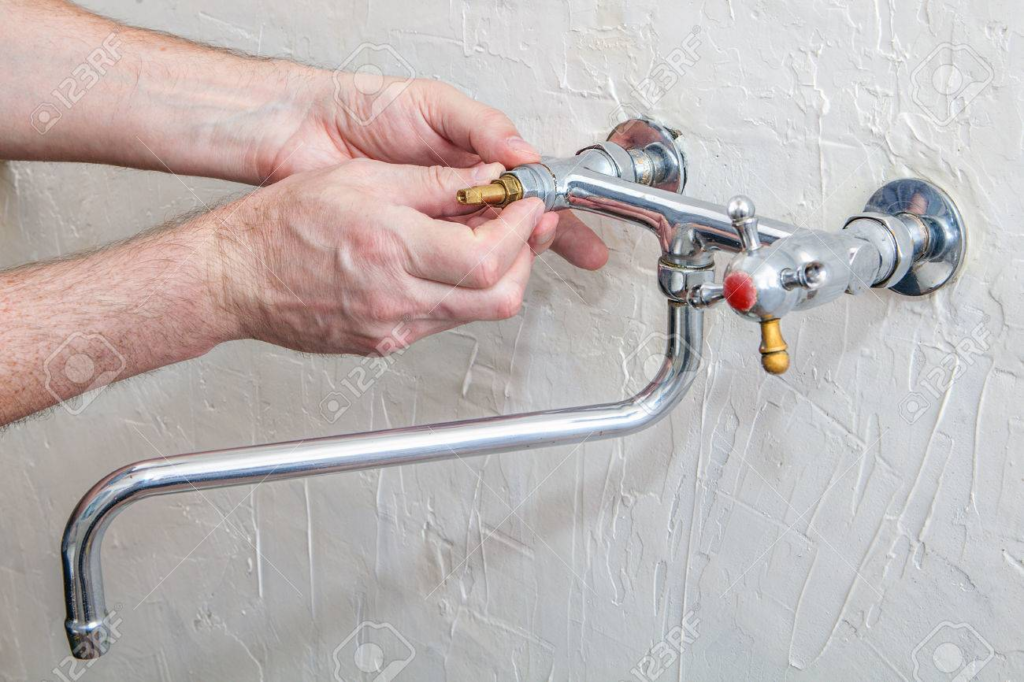
Why it Happens
The stem is the part of the tap that you turn to control the water flow. If the stem is leaking, it might be due to worn-out washers or O-rings.
How to Fix It
- Turn Off the Water: Before you start, turn off the water supply under the sink.
- Disassemble the Tap: Use a screwdriver to remove the handle and expose the stem.
- Replace Washers and O-rings: Take out the old washers and O-rings. Replace them with new ones from a hardware store.
- Reassemble the Tap: Put everything back together and turn the water on. The leak should be gone!
2. Leaking from the Base
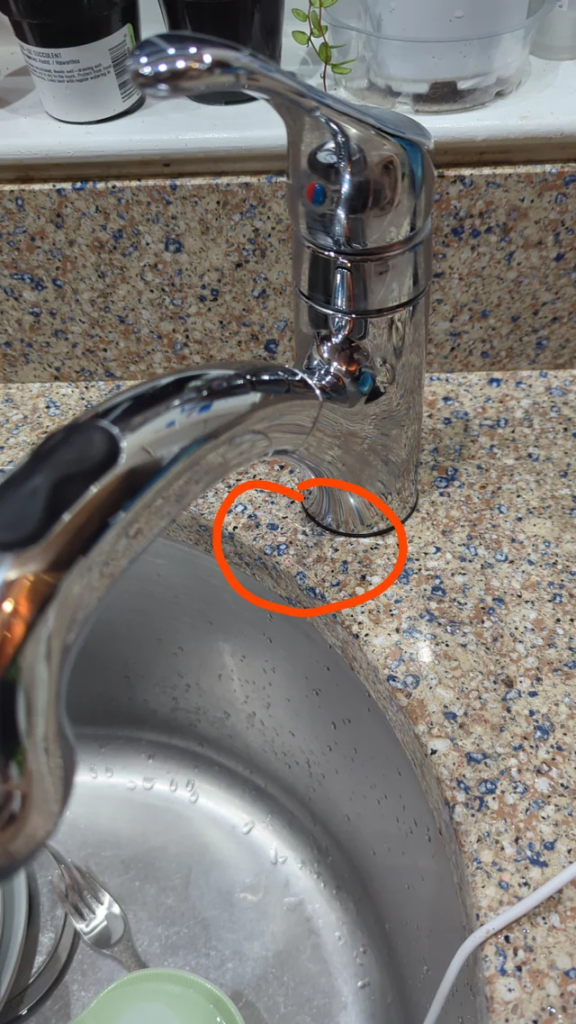
Why it Happens
A leak at the base of the tap usually means the seals inside the tap have worn out.
How to Fix It
- Turn Off the Water: Always start by turning off the water supply.
- Remove the Tap: Unscrew the tap from the sink. You might need a wrench for this.
- Check the Seals: Look at the seals inside the tap. If they are worn or damaged, replace them.
- Reinstall the Tap: Put the tap back in place, tighten it, and turn the water back on.
3. Leaking from the Neck
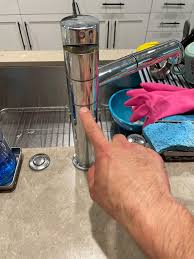
Why it Happens
Leaks from the neck of the tap often occur due to a worn-out spout O-ring.
How to Fix It
- Turn Off the Water: Make sure to turn off the water supply.
- Remove the Spout: Twist and pull off the spout to expose the O-ring.
- Replace the O-ring: Take out the old O-ring and put a new one in its place.
- Reattach the Spout: Put the spout back and check for leaks.
4. Leaking from the Swivel
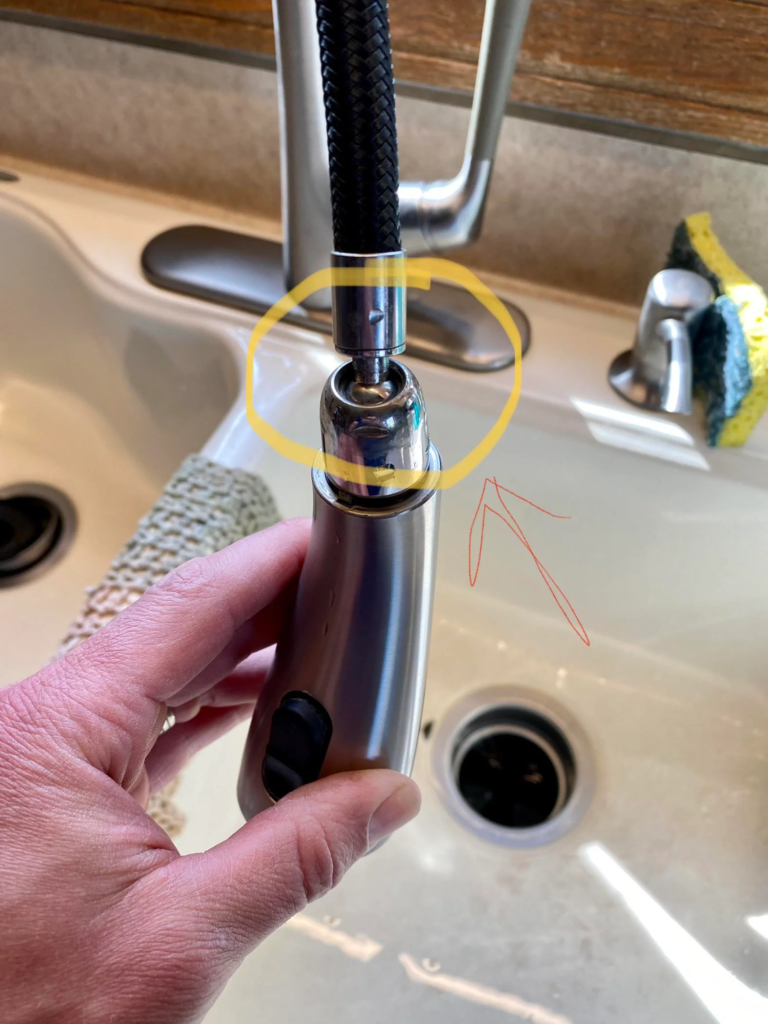
Why it Happens
A swivel leak happens when the O-rings or washers in the swivel joint wear out.
How to Fix It
- Turn Off the Water: Start by turning off the water supply.
- Disassemble the Swivel Joint: Unscrew the swivel joint to expose the O-rings and washers.
- Replace the Parts: Remove the old O-rings and washers and replace them with new ones.
- Reassemble the Joint: Put the swivel joint back together and test for leaks.
5. Leaking from the Handle
Why it Happens
If water is leaking from the handle, it might be due to a loose or damaged cartridge inside the tap.
How to Fix It
- Turn Off the Water: Make sure to turn off the water supply.
- Remove the Handle: Use a screwdriver to remove the handle.
- Inspect the Cartridge: Take out the cartridge and inspect it for damage. If it’s damaged, replace it with a new one.
- Reassemble the Handle: Put the handle back in place and turn the water back on to check for leaks.
6. Leaking from the Aerator
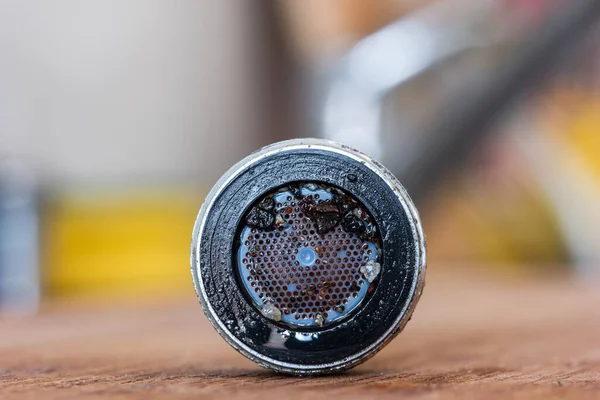
Why it Happens
A leaking aerator might mean there is debris or buildup inside the aerator screen.
How to Fix It
- Turn Off the Water: Start by turning off the water supply.
- Remove the Aerator: Unscrew the aerator from the tap spout.
- Clean the Aerator: Rinse the aerator screen under running water to remove any debris or buildup.
- Reattach the Aerator: Screw the aerator back onto the tap spout and turn the water on to check for leaks.
7. Leaking from the Sprayer Hose
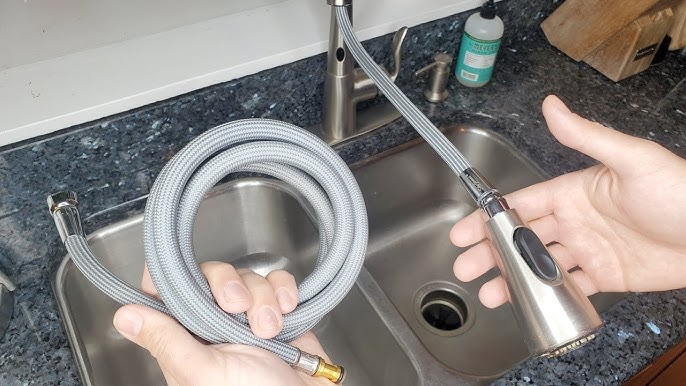
Why it Happens
A leaking sprayer hose is often caused by cracks or holes in the hose.
How to Fix It
- Turn Off the Water: Ensure the water supply is turned off.
- Inspect the Hose: Check the sprayer hose for any visible cracks or holes.
- Replace the Hose: If you find any damage, replace the hose with a new one.
- Reconnect the Hose: Attach the new hose to the sprayer and the tap. Turn the water on and check for leaks.
8. Leaking from the Faucet Body
Why it Happens
Leaks from the faucet body usually indicate that the internal components, like the valve seat, are worn out.
How to Fix It
- Turn Off the Water: Turn off the water supply to the tap.
- Disassemble the Faucet: Use a wrench to take apart the faucet body.
- Inspect and Replace Parts: Check the valve seat and other internal components for wear. Replace any damaged parts.
- Reassemble the Faucet: Put the faucet back together, ensuring all parts are securely in place. Turn the water on to check for leaks.
Common Problems with Leaking Kitchen Tap
1. Worn-Out Washer
Why It Happens:
A washer is a small rubber ring that helps seal the tap and stop water from leaking. Over time, it can wear out and cause leaks.
How to Fix It:
- Turn Off the Water: First, turn off the water supply to the tap.
- Disassemble the Tap: Use a wrench to unscrew the tap handle and access the washer.
- Replace the Washer: Take out the old washer and replace it with a new one.
- Reassemble the Tap: Put everything back together and turn on the water supply.
2. Loose O-Ring
Why It Happens:
The O-ring is a small rubber ring that sits inside the tap handle. It can become loose or damaged, leading to leaks around the handle.
How to Fix It:
- Turn Off the Water: Make sure the water supply is off.
- Remove the Handle: Unscrew the tap handle to access the O-ring.
- Replace the O-Ring: Take out the old O-ring and replace it with a new one.
- Reattach the Handle: Screw the handle back on and turn on the water supply.
3. Corroded Valve Seat
Why It Happens:
The valve seat connects the tap to the spout. Over time, it can corrode and cause leaks at the spout’s base.
How to Fix It:
- Turn Off the Water: As always, start by turning off the water supply.
- Disassemble the Tap: Remove the tap handle and spout to reach the valve seat.
- Clean or Replace the Valve Seat: If it’s dirty, clean it with vinegar. If it’s corroded, you might need to replace it.
- Reassemble the Tap: Put the tap back together and turn on the water supply.
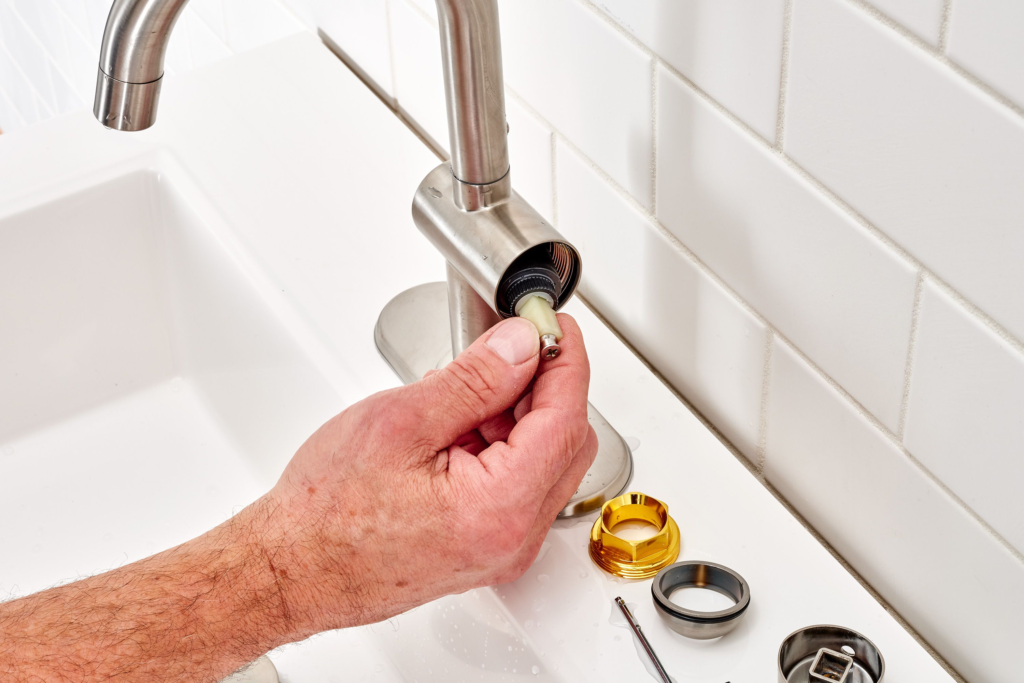
4. Faulty Cartridge
Why It Happens:
A cartridge controls the water flow and temperature. If it’s faulty, it can cause leaks from the spout or base.
How to Fix It:
- Turn Off the Water: Ensure the water supply is off before starting.
- Remove the Handle and Cartridge: Take off the handle and pull out the cartridge.
- Replace the Cartridge: Insert a new cartridge that matches your tap model.
- Reassemble the Tap: Reattach the handle and turn the water supply back on.